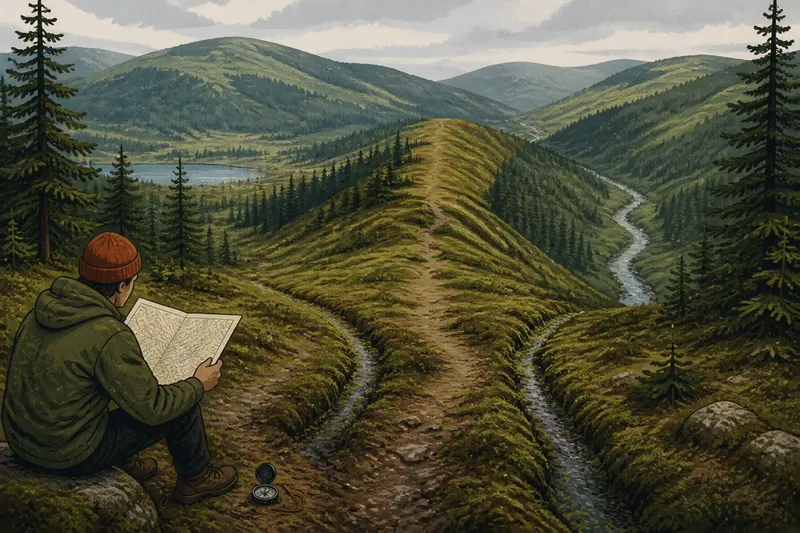
A Lakeshore Walk with Three Map Clues
Use three map clues on a lakeshore walk to read the slope, trace the shoreline and locate an inlet, building a clearer picture without leaving the path.
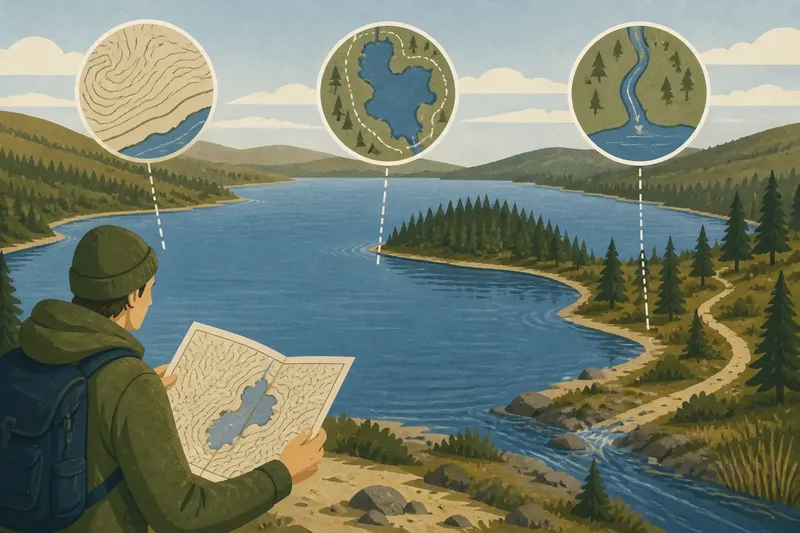
A muddy car park can make a lake look like one broad patch of blue. Before a lakeshore walk, open a topographic map and locate the shore, the nearest path and north. Three clues can then sharpen what you see: how the land rises, how the shoreline bends and where water enters.
Carry a paper map or an offline map on your phone, and pause where the ground is visible from the path. The aim is not to identify every hollow or tributary. Each clue answers a different question, and together they help you match the map’s broad shapes to the landscape without treating it as an exact portrait.
Contour lines show how the land approaches the lake
Contour lines join places of equal elevation. Their spacing gives a broad impression of slope: close lines mean the ground rises or falls over a short horizontal distance; wider spacing suggests a gentler slope. The contour interval in the map legend tells you the elevation difference between neighbouring lines.
Near a lake, contour patterns can suggest whether the shore sits below a steep bank, beside a shallow shelf or at the foot of a longer slope. A rounded pattern may mark a low shoulder; lines tightening towards the water may suggest a sharper descent. Read the whole pattern rather than treating a contour as the precise edge of a cliff.
Map scale limits detail. A small-scale map may smooth over minor hollows, low bluffs and narrow benches, while trees can hide the landform from view. Treat the lines as prompts for careful observation, not a promise that every shape will be visible from the path.
At a safe, open viewpoint, compare the mapped spacing with the slope you can see. Notice whether the bank rises evenly, dips into a hollow or levels out before climbing. You do not need to estimate its height; the change in shape is enough.
Shoreline shape shows where the lake reaches into the land
A lake’s outline is more than a boundary to trace. Broad bays, narrow points and small coves create different shapes along the shore. A rounded bay may have a sheltered margin, while a narrow point may be more exposed to wind and waves. These are possibilities to check against what is visible, not conclusions supplied by a map symbol.
Compare the lake’s overall outline with the smaller details near your route. A map may show a peninsula extending into the water, an inlet curling behind it or a narrow neck between bodies of water. From the path, compare those shapes with the line of trees, exposed rock or changes in the bank. The map helps you anticipate a turn; the view shows what that turn looks like today.
The apparent water’s edge can change with water level, season, ice and map resolution. A path marked close to the lake may sit above a bank, behind reeds or well back from the current waterline. Keep to established access rather than assuming that a narrow strip on the map is a public route.
Say you are walking beside a broad bay that curves behind a wooded point. The map suggests a short bend, but the point hides the far side of the bay from the path. Pause at a permitted viewpoint and match the curve to the tree line; the result is a clearer sense of where the shore turns, not an invitation to use the hidden shore as a shortcut.
Inlet direction connects the lake to its surroundings
An inlet is where a stream or other watercourse enters a lake. On a map, it may appear as a thin blue line joining the lake, perhaps with smaller branches further inland. Follow the line outward and note the direction from which the watercourse reaches the shore. The surrounding valley can help you recognise the route in the landscape.
This clue differs from contour spacing. Contours describe changes in the land; an inlet shows a connection within a drainage system. A stream may be visible from a bridge or open bank, but reeds, forest, wet ground or seasonal water can conceal it. A blue line does not tell you whether a stream is easy to cross or how much water it carries at a given time.
At the lake, look from the path for a visible channel, a break in the shoreline or a damp opening in the vegetation. Compare its direction with the mapped watercourse, allowing for bends and the map’s level of detail. If a bridge or signed crossing is available, use it as a sensible place to observe the connection without stepping into the channel or trampling its banks.
The ground beside a stream mouth may look flatter or more irregular than the nearby bank, and water may carry visible sediment after rain. Those observations do not establish water quality. Make decisions about drinking or swimming using local information, not appearance alone.
How do the three lake map clues fit together?
Use the clues in sequence, but keep their jobs distinct. Contours describe the slope approaching the lake, shoreline shape helps locate bends and points, and inlet direction links the lake to a watercourse. Where all three align, you can build a more coherent picture of the setting; where they do not, record the mismatch rather than forcing a match or leaving the route to investigate.
What should I check before leaving?
Locate the lake, your intended path, a clear starting point and the map legend. Check north and confirm that the map covers the whole planned route, not merely the attractive bend beyond its edge.
How can I tell a contour interval from a contour label?
The interval is the elevation difference between adjacent contour lines; a printed label gives the elevation of a particular line. Check the map legend or notes, since conventions differ between maps.
What if the inlet on the map is dry or hidden?
A watercourse may be seasonal, concealed by vegetation or simplified at the map’s scale. Note the difference and continue from a safe path rather than searching through marshy ground or crossing private land.
Can these clues show which way water flows?
They can help you identify where a mapped stream meets the lake and the general direction of that connection. A map line is not a current field reading, especially where a channel is subtle or seasonal.
Use each clue at a separate stopping point
Pause at one open place to compare slope and contour spacing, then at another to follow the shoreline curve. Near a mapped inlet, compare the watercourse’s direction with what is visible from the path. A brief note on a paper map or in your phone’s notes app can separate what matched from what remains uncertain.
Imagine a marked loop that passes a gently rising bank, rounds a narrow point and approaches a mapped inlet. At the first safe stop, you see wide contour spacing and a gentle slope; at the second, the visible shore turns more sharply than you expected; at the third, vegetation hides the inlet’s meeting point with the lake. The resulting picture is specific but incomplete: the ground rises gently, the shore turns sharply, and the inlet cannot be confirmed from that viewpoint. You keep to the marked path rather than crossing the vegetation to settle the last point.
- Check whether contour lines are close together near the shore; if they are, expect a steeper slope and remain on the established path, otherwise look for a gentler approach without assuming it is safe to descend.
- Check whether the mapped shoreline has a bay or point; if the shape is visible, use it to orient yourself, otherwise rely on the marked route and other recognisable features.
- Check whether the map shows an inlet at your stopping point; if a channel is visible from a safe viewpoint, compare its direction with the map, otherwise record it as hidden or uncertain and continue on the path.
- Check whether a crossing is marked; if a bridge or signed crossing is present, observe from there, otherwise do not enter the watercourse to reach the other bank.
- Check whether reeds, wet ground or ice obstruct the shore; if they do, stay back and use another viewpoint, otherwise continue only where the established path remains clear.
- Check that the map covers the full route and shows access information; if it does not, obtain a suitable map or choose a route you can verify, otherwise keep the map available for comparison.
Plan around public access and conditions on the day. Northern shores can include boggy margins, loose rock, lingering snow or sudden exposure to wind. Follow marked paths and posted notices, and turn back if the route becomes unclear or the ground is unsuitable. For access boundaries and local restrictions, follow local guidance.
A lakeshore walk with three map clues works best when each clue answers its own question: how the land rises, where the shoreline turns and where a stream joins the lake. Keep those distinctions in mind at the next safe viewpoint; they make the map more useful without requiring the landscape to behave like a tidy drawing.